Search for topics or resources
Enter your search below and hit enter or click the search icon.
August 31st, 2023
2 min read

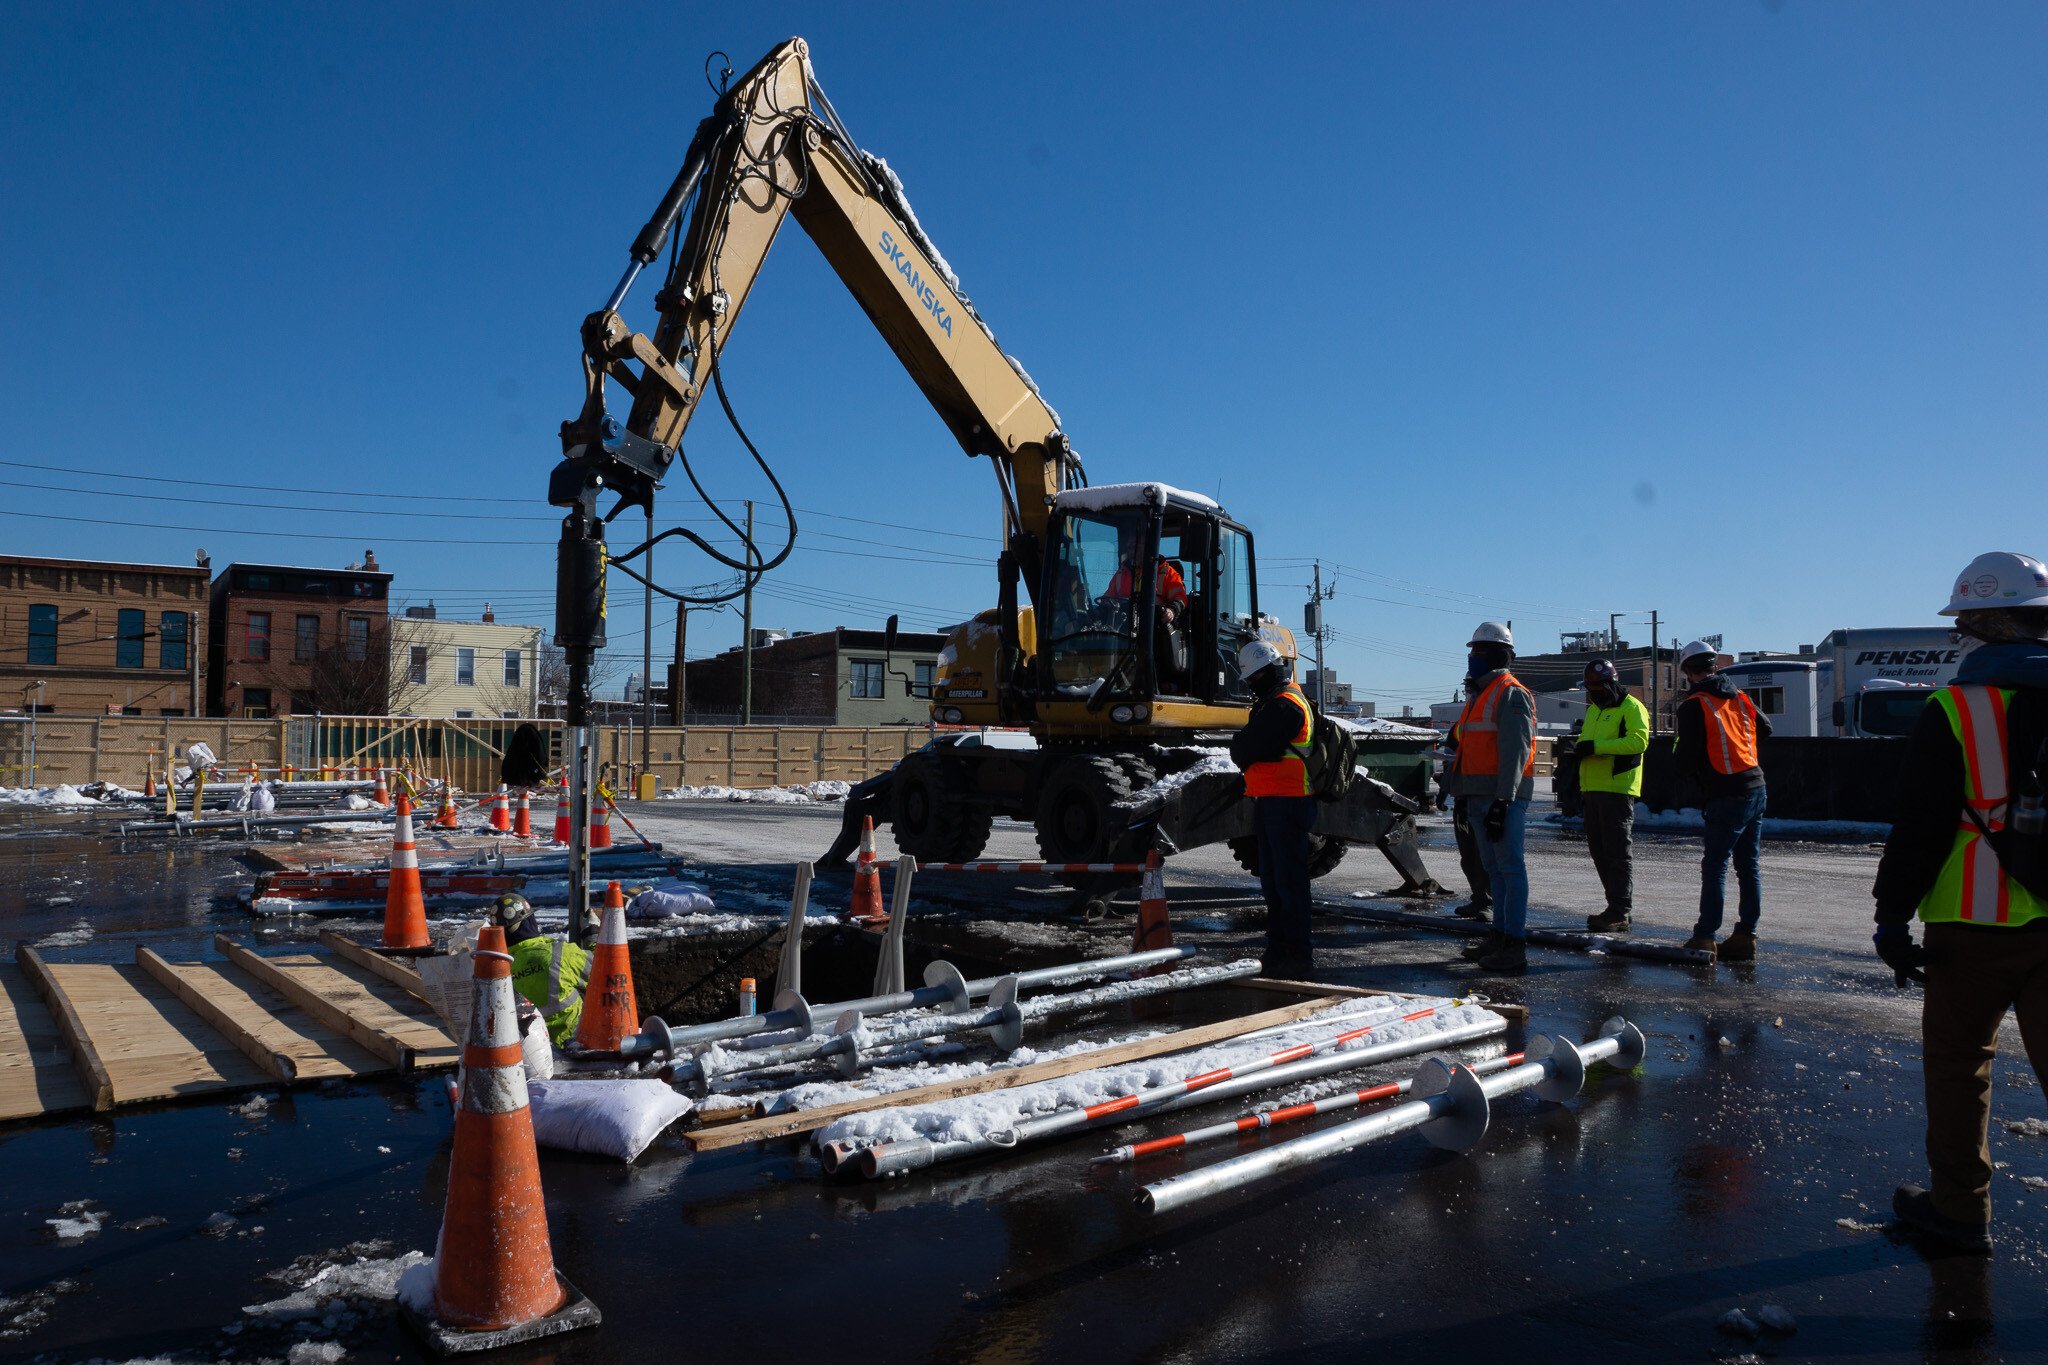
Helical piles are installed using hydraulic-powered rotary equipment and are turned into the ground while crowd or downward pressure is exerted on the helical pile shaft. Screwing a pile into soil minimises vibrations, accelerates pile advancement, and allows more efficient and compact equipment to be used.
IDEAL requires installers to continuously monitor and record installation torque and pile alignment throughout the installation process. This helps avoid damage that could be caused by exceeding the allowed torsional strength of any pile components. Every helical screw pile has a maximum stress level that must not be exceeded to avoid compromising the structural integrity of the helical unit.
The recorded installation torque and depth can also be interpreted against the soil data to obtain a correlation that enables each pile to be easily verified. It is important to obtain a soils report with samples taken at various depths before installation begins.
The versatility of helical piles has been proven on many projects. Our helical piles have been installed in dense metro areas, under historic structures, and inside operating stone mines. These environments present challenges that traditional deep foundation solutions can’t easily overcome.
UNDERPINNING THE FUTURE OF A HISTORIC AQUEDUCT BUILDING
HELICAL PILES IN AN ACTIVE STONE MINE
MORE IDEAL HELICAL PILES IN NY/NJ SUBWAY STATIONS
The relative simplicity of installing helical piles provides many benefits to the end user. Learn more about how helical piles can save you money and other benefits they offer in our recent blog post.
In order to ensure that our standards for quality are honoured when installing, we provide contractors with full training and certification.
Using our network of certified installers ensures the products are installed correctly and according to design requirements, providing you with peace of mind.
Now that’s IDEAL.
Shoot us a message or call us at 585.872.7190.
Topics: